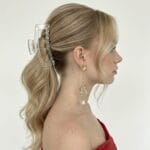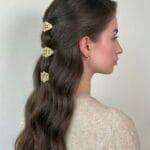
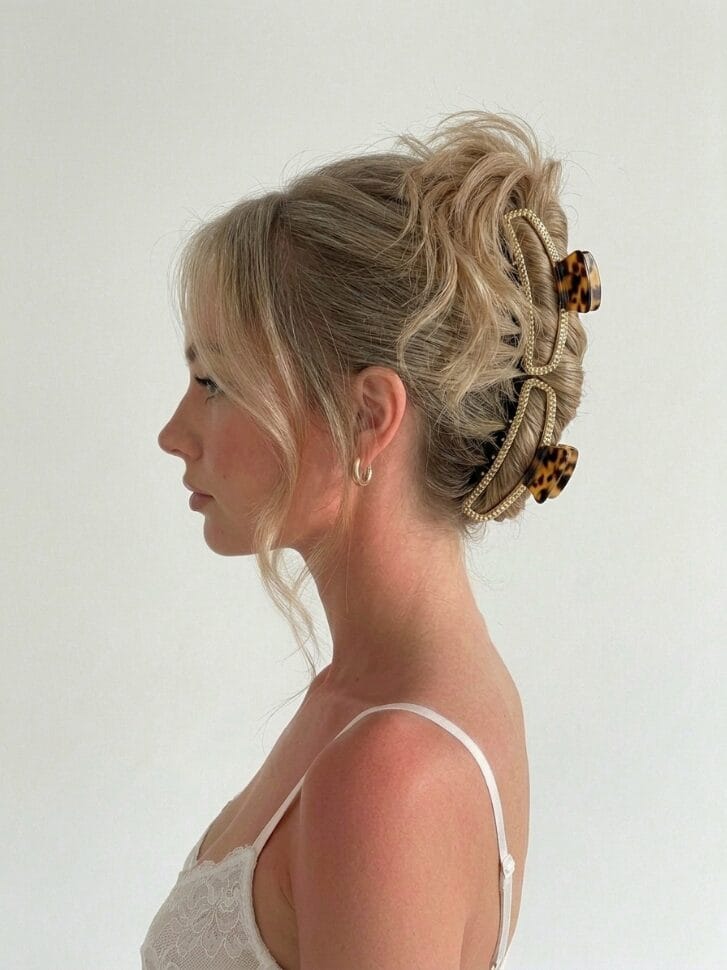
Catching a glimpse of your reflection only to see half your haircut escaping from your updo ruins your whole morning. Figuring out claw clip hairstyles for layered hair requires a different approach than styling one solid block of length. You need specific twisting techniques that trap those shorter front pieces before they fall out onto your neck. This guide breaks down exactly how to gather multiple lengths so your everyday look stays locked in all day.
Strategic Gathers for Multiple Lengths
Finding the right angle to hold your hair back makes a massive difference for choppy haircuts. You want to prioritize specific anchor points rather than pulling everything into one doomed twist. Grabbing your favorite resin or metal accessory gives you the power to manipulate those different lengths exactly where you need them most.
The Classic French Twist
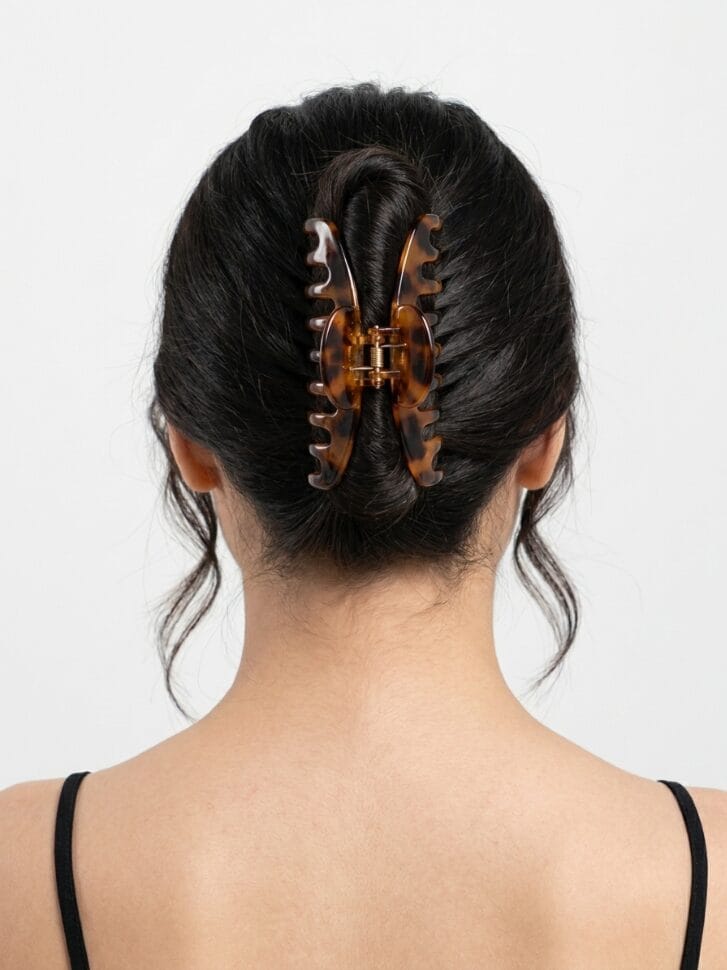
This is the one for when you are running ten minutes late and need your thick layers off your neck immediately. Gather your strands right at the base of your skull and roll them upward in a straight line. Clamp a large resin accessory directly over the seam to trap all those varying lengths inside. Letting your shortest front pieces fall out naturally frames your face while keeping the back secure. Your longest sections stay hidden inside the fold without pointing out in random directions.
| Style Details | |
| Face Shape | All Face Shapes |
| Hair Texture | Wavy, Straight |
| Hair Type | Thick, Medium |
| Difficulty Level | Beginner |
| Time to Style | 20 seconds |
The Basic Half Up
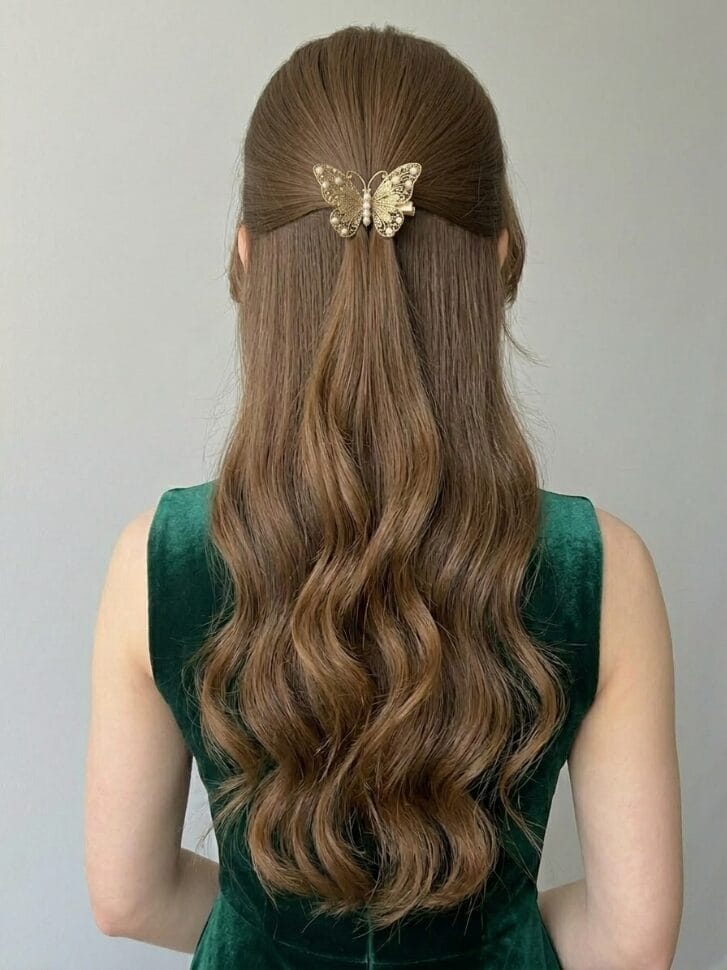
Reach for this whenever your curtain bangs are driving you crazy but you still want to wear your length down. Pull the top section of your strands straight back toward your crown using just your fingers. Give the bundle a single twist and anchor it flat against your head with a small accessory. The hardware locks your shortest top layers in place before they have a chance to slip down your forehead. Leaving the bottom layers loose shows off the dimension of your recent haircut.
| Style Details | |
| Face Shape | Oval, Heart |
| Hair Texture | All Textures |
| Hair Type | Fine, Medium |
| Difficulty Level | Beginner |
| Time to Style | 15 seconds |
The Low Messy Bun
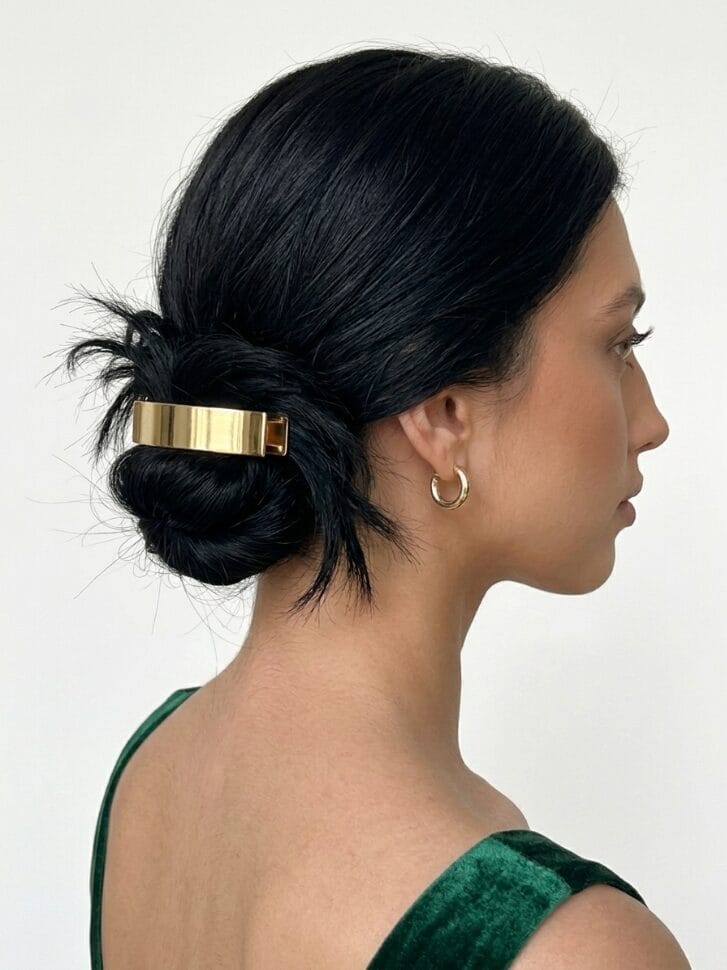
Try this exact method when your hair feels dirty and you need to hide your greasy roots fast. Twist all your layers together near your neck and spin them into a tight coil. Fasten a wide metal clip horizontally across the center of the bun to hold the thickest part. The shorter pieces will naturally poke out around the edges to give you a relaxed lived in texture. You get a comfortable shape that keeps the heavy ends from pulling on your scalp.
| Style Details | |
| Face Shape | Round, Square |
| Hair Texture | Wavy, Curly |
| Hair Type | Thick Volume |
| Difficulty Level | Beginner |
| Time to Style | 20 seconds |
The Folded Ponytail
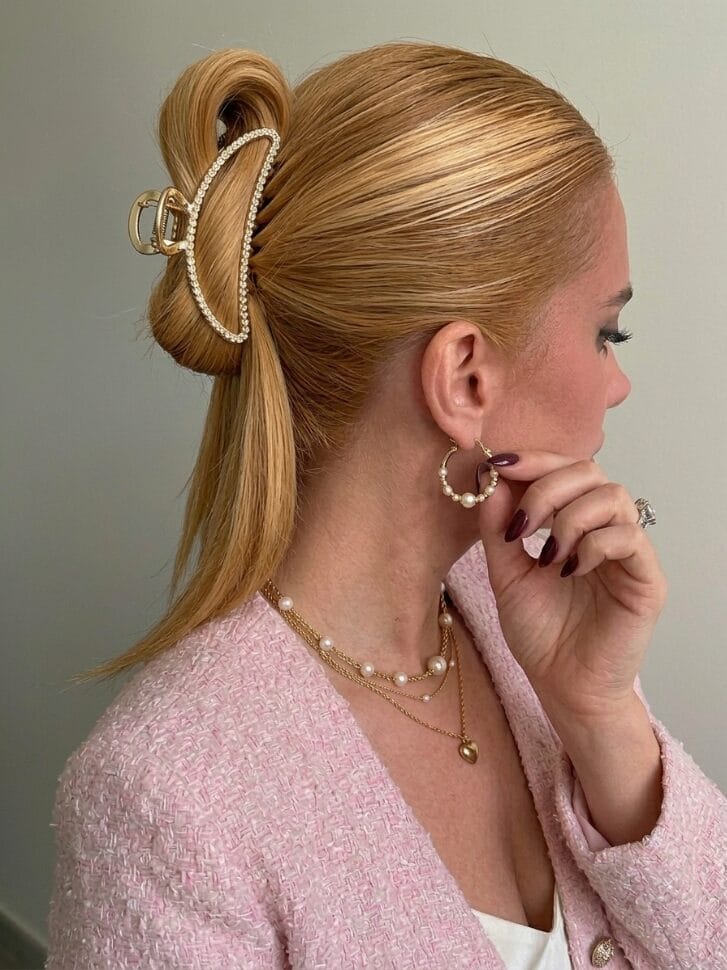
This works best when you want an updo but a traditional twist leaves too many spiky ends sticking out the top. Form a low ponytail in your hands and pull it upward toward your crown. Fold the loose tail back downward against your head and pinch the whole section with a jumbo clip. Trapping the ends pointing down prevents your shortest layers from sticking straight up in the air. Everything looks smooth and intentional rather than looking like an accident.
| Style Details | |
| Face Shape | Diamond, Oval |
| Hair Texture | Straight, Wavy |
| Hair Type | Medium Density |
| Difficulty Level | Beginner |
| Time to Style | 15 seconds |
The Loose Nape Gather
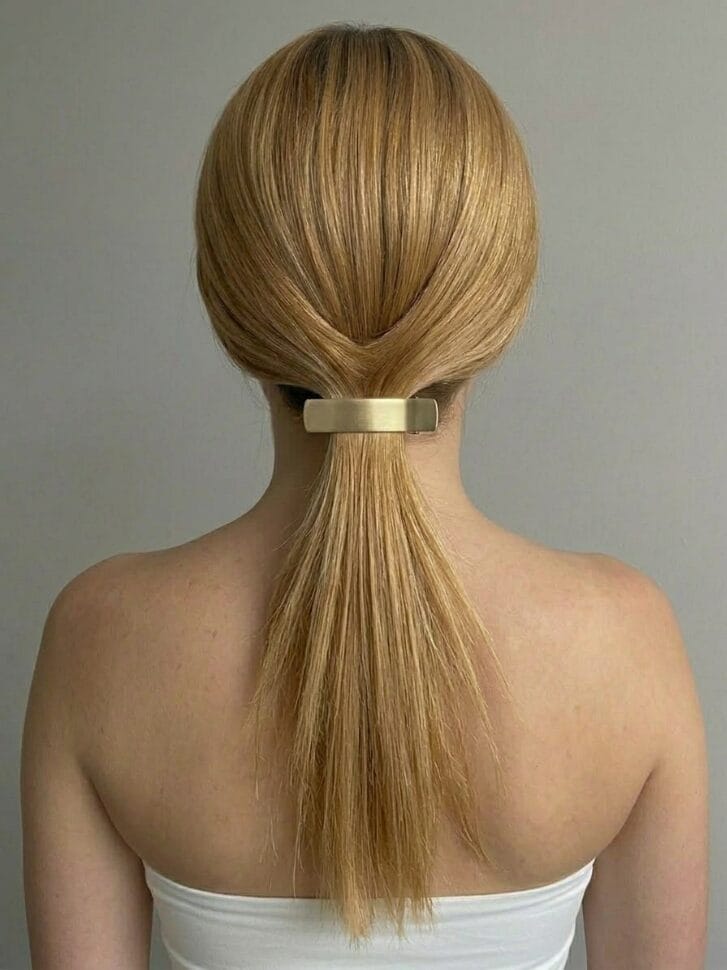
Reach for this on days when a tight style gives you a headache by noon. Sweep your strands straight back and pinch them together right at the lowest point of your hairline. Place a wide horizontal accessory over the bundle without twisting the hair at all. Letting the top sections droop slightly over the hardware catches any mid length pieces before they fall out. Your neck stays cool while your hair remains tension free.
| Style Details | |
| Face Shape | All Face Shapes |
| Hair Texture | Straight |
| Hair Type | Fine, Thin |
| Difficulty Level | Beginner |
| Time to Style | 15 seconds |
The Double Clip Stack
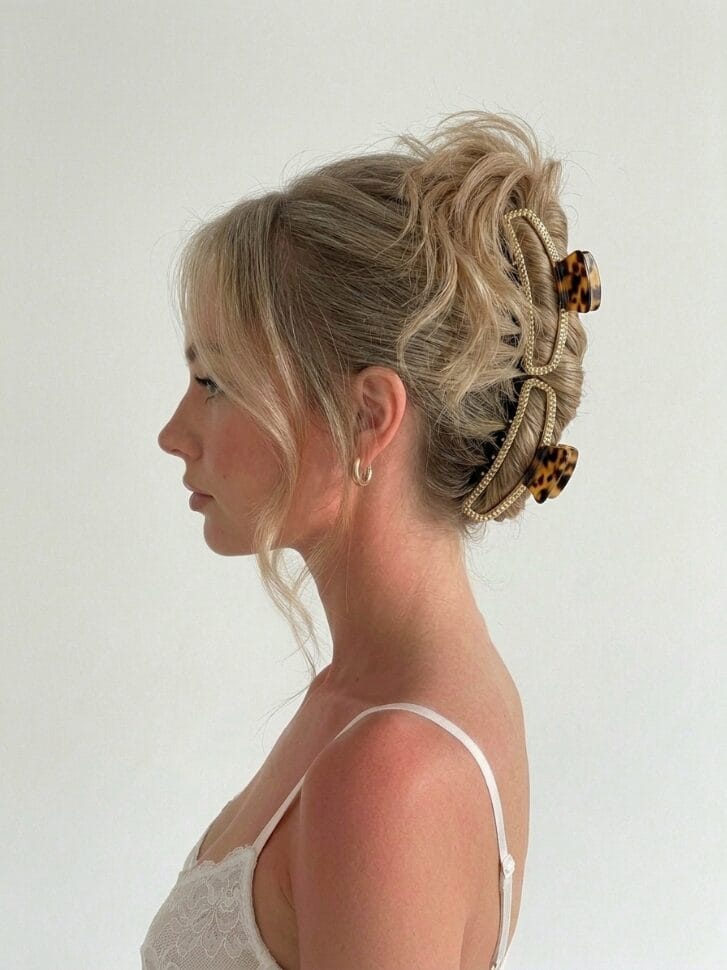
This is the move when you have a heavily layered shag cut and the top half refuses to stay with the bottom. Divide your strands across the back of your head and secure the top section with a medium clip. Grab the remaining bottom layers and anchor them directly underneath with matching hardware. Creating two separate holds guarantees that your medium pieces never slide down onto your shoulders. The stacked look feels modern while solving a very annoying practical problem.
| Style Details | |
| Face Shape | All Face Shapes |
| Hair Texture | Straight, Wavy |
| Hair Type | Thick, Medium |
| Difficulty Level | Intermediate |
| Time to Style | 30 seconds |
The Simple Crown Twist
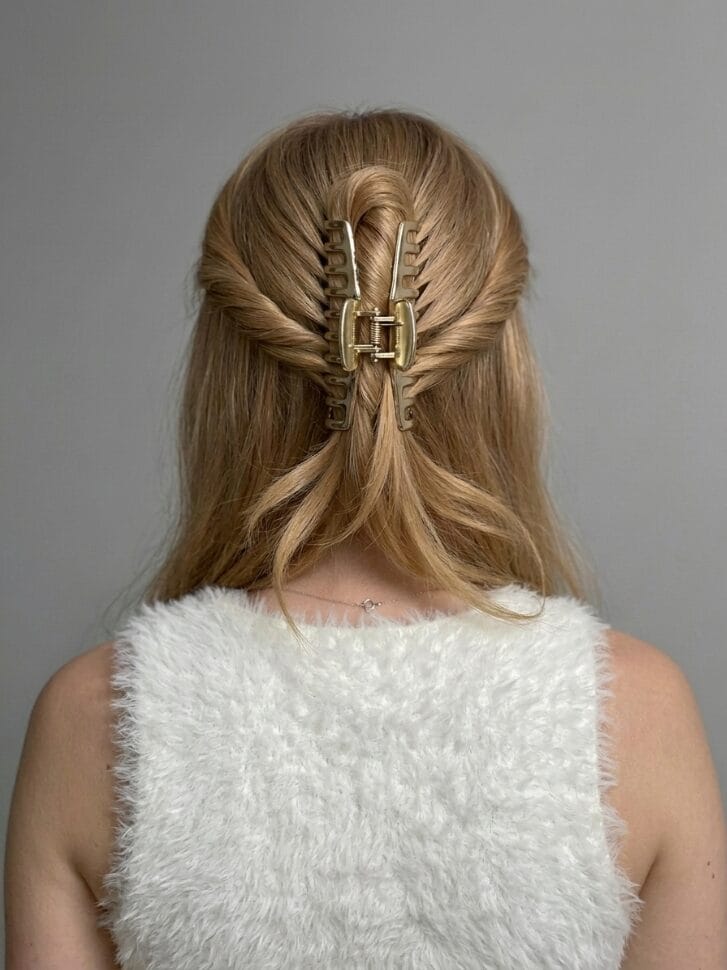
Try this trick when you are growing out a short bob and the back pieces refuse to stay up. Grab the top half of your hair and twist it tightly right below your crown. Secure the twisted section with a large clip that features closely spaced teeth. The tight grip holds your longest layers in place while the shortest bottom pieces fan out below. It gives you immediate volume exactly where you need it most.
| Style Details | |
| Face Shape | Square, Diamond |
| Hair Texture | Wavy, Curly |
| Hair Type | Medium, Thick |
| Difficulty Level | Beginner |
| Time to Style | 15 seconds |
Pro Tips For Securing Short Layers
Pre Treat With Dry Texturizer
Clean layered hair acts like a slip and slide against smooth plastic teeth. Spraying a generous amount of dry texturizing spray all over your strands builds immediate grip. Focus the product specifically on the mid shafts where your shortest pieces end. That invisible grit holds the entire style together much longer than twisting dry washed hair.
Upgrade Your Hardware Size
Trying to force thick layered cuts into a tiny clip guarantees that pieces will pop loose by noon. You need an extra large accessory with deep set teeth to reach through the bulky outer sections. The teeth must touch your scalp to anchor the longest strands securely in place. I keep a massive curved metal piece in my bag for days when my layers refuse to cooperate.
Lock The Bottom First
Many people start their twist at the crown and leave the bottom layers loose. Grabbing your hair at the lowest point of your neck ensures you capture the longest sections right away. You can then fold the shorter top pieces over that solid foundation. Building from the bottom up traps the varying lengths inside the twist rather than leaving them exposed.
Common Mistakes To Avoid
Twisting Way Too Tightly
You might think winding your hair as hard as possible keeps those annoying short pieces contained. Cranking the twist tight actually forces the shortest ends to stick straight out of the roll like spikes. Leaving the gather slightly loose allows the varying lengths to blend together smoothly. A relaxed grip always looks more intentional than a rigid spiky twist.
Brushing Out Natural Wave
Taking a heavy bristle brush to your layers before putting them up ruins your natural holding power. Straightening out your texture makes those shorter pieces slick and unmanageable. Using your fingers to rake the hair back preserves the bends and clumps that help lock the style down. Your layers need that organic messy texture to interlock and hold their shape securely.
Frequently Asked Questions
Why do my front pieces always fall out?
Short face framing layers lack the length to reach the back of your head securely. Trying to stretch them into a single twist usually results in them slipping loose after an hour. You need to use a half up style or a double clip method to anchor those front sections near the crown. I always leave my shortest pieces out entirely so I never have to fight them.
What prevents the clip from sliding down my head?
Choosing an accessory with a strong spring mechanism provides the necessary tension to grip layered strands. You also need to make sure the teeth penetrate all the way to your scalp. Grabbing just the top layer of hair means the heavy bottom layers will eventually pull the hardware down. Placing a bobby pin right below the plastic teeth creates an invisible shelf that stops slipping.
Can I hide stringy ends in an updo?
Layered cuts often leave thin stringy ends poking out of the top of a twist. Folding those ends downward before clamping your accessory hides them inside the fold. You can also curl the exposed ends quickly to make them look voluminous rather than sparse. A quick hit of salt spray thickens up those fine tips in seconds.
Do metal clips work better for multiple lengths?
Heavy metal accessories offer a much tighter grip than flexible plastic options. The rigid teeth bite into the gathered bundle and refuse to let the shorter pieces slide through. I prefer a hollow metal design because it holds thick layers without feeling too heavy on my neck. You just have to place it carefully to avoid scratching your scalp.
Final Thoughts
Figuring out normal claw clip hairstyles for layered hair stops the daily struggle with slipping strands. You might find that The Classic French Twist contains your choppy haircut while The Basic Half Up handles your front pieces. Drop a comment below and share which of these simple holding methods works best for your specific haircut.