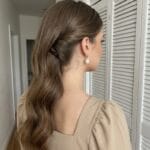
Stepping in front of a lens demands an appearance that remains flawlessly intact frame after frame. Mastering camera updo hairstyles guarantees you can strike any pose without your hair awkwardly blocking your face or creating strange silhouettes in the final images. Ditching unpredictable loose curls allows you to focus entirely on your expression while maintaining a pristine aesthetic that photographs beautifully.
These seven completely pinned camera updo hairstyles rely on basic tools to secure heavy hair flawlessly. You can execute every single one of these gathered variations before you step on set and trust they will hold strong through countless outfit changes.
Realistic Camera Updo Hairstyles For Your Photoshoot
Establishing a bulletproof foundation requires you to abandon flimsy clips that shift when you move. Incorporating these seven distinct completely pinned variations into your modeling schedule provides a totally locked down aesthetic for any location shoot.
The High Sculpted Knot
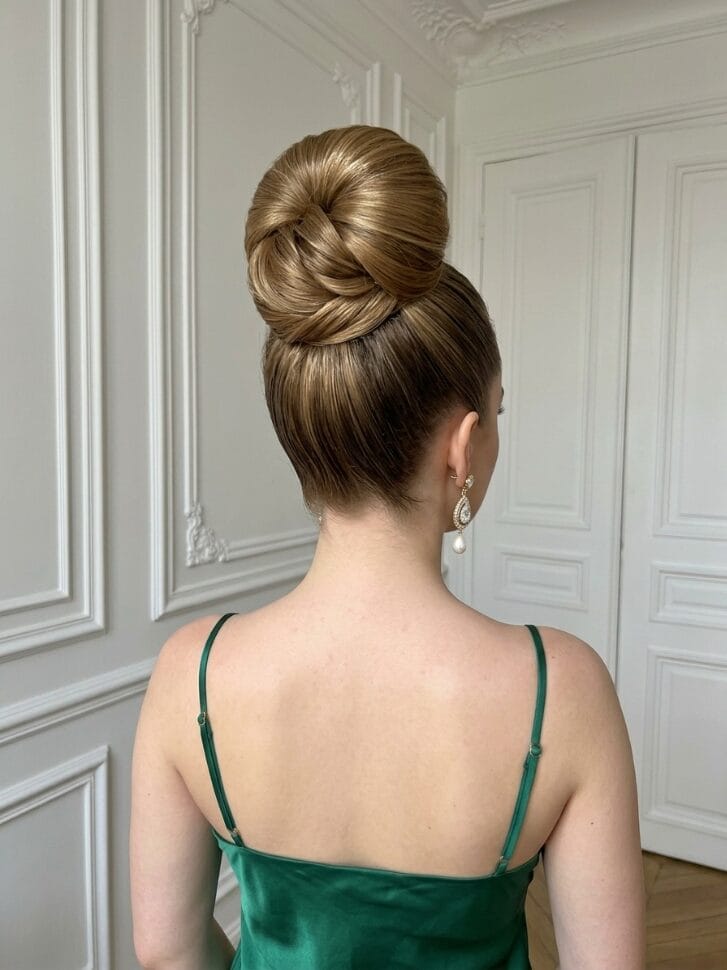
Gathering your hair into a firm ponytail exactly at the crown of your head pulls your facial features upward. Twisting the tail completely to the ends, wrapping it into a towering flat circle, and pinning the edges shut builds a highly secure shape that elongates the neck perfectly on film.
| Style Details | Specifications |
| Face Shape | All Face Shapes |
| Required Tools | Clear Elastics Pins |
| Difficulty Level | Intermediate |
| Time to Style | 5 minutes |
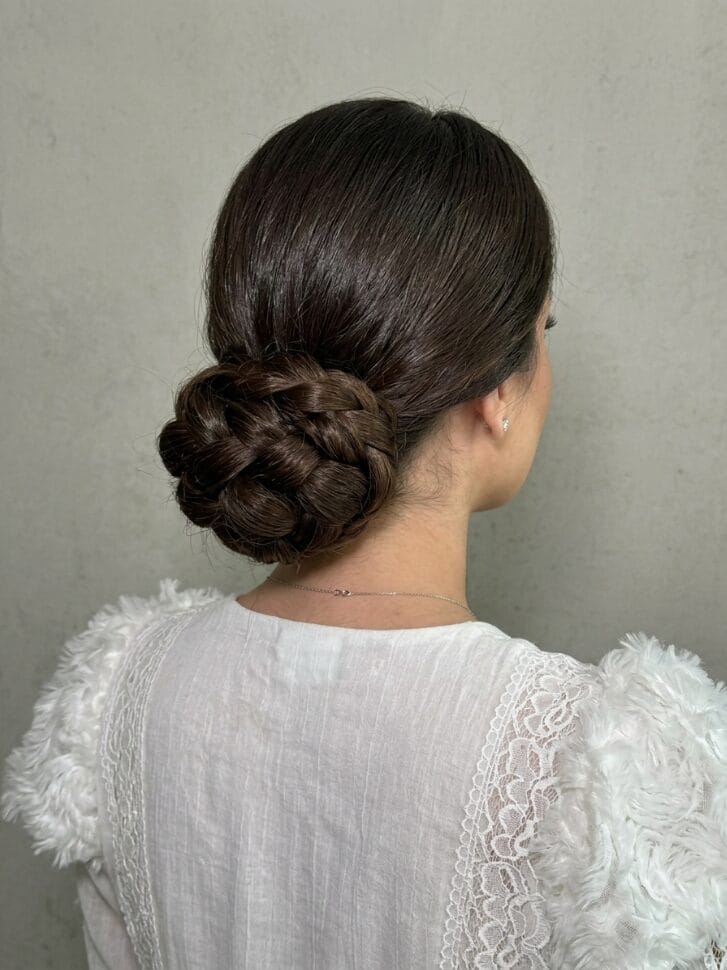
The Braided Chignon Wrap
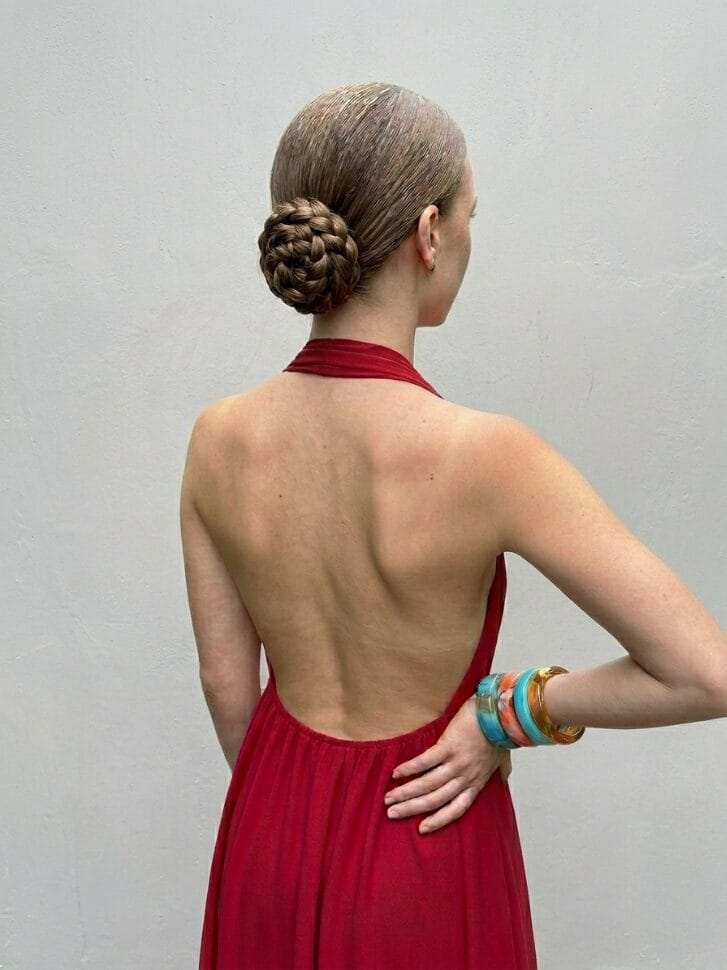
Smoothing your hair into a tight low ponytail forms a clean base. Braiding the tail, wrapping it around a small hidden sponge insert, and pinning the ends tightly underneath builds a wide perfectly round bun that commands attention in professional portraits.
| Style Details | Specifications |
| Face Shape | Oval Square |
| Required Tools | Foam Bun Insert |
| Difficulty Level | Beginner |
| Time to Style | 6 minutes |
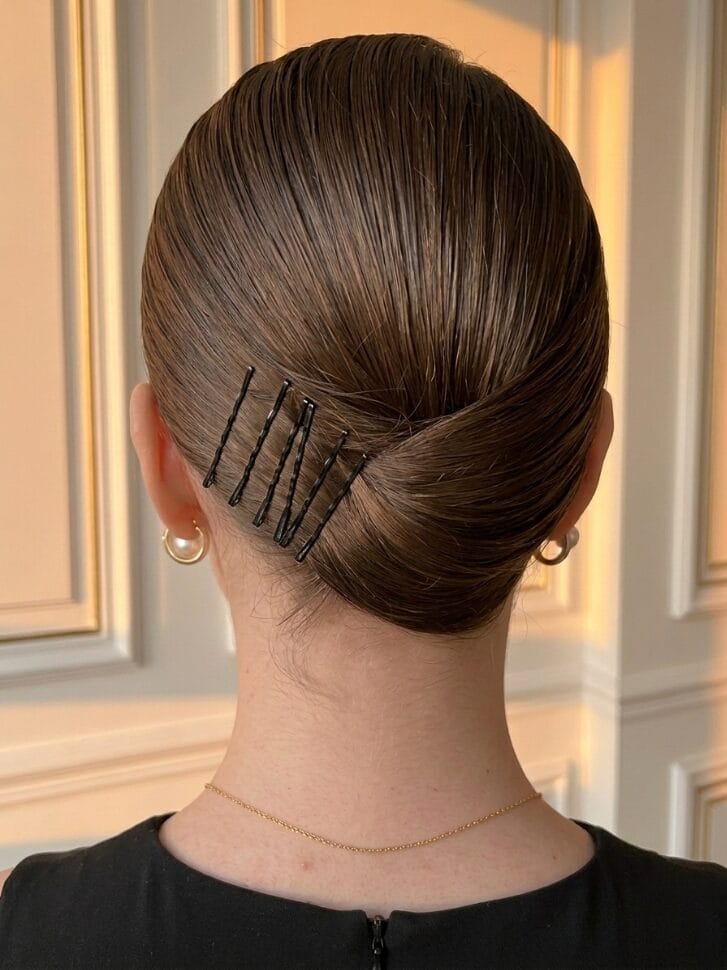
The Vertical French Fold
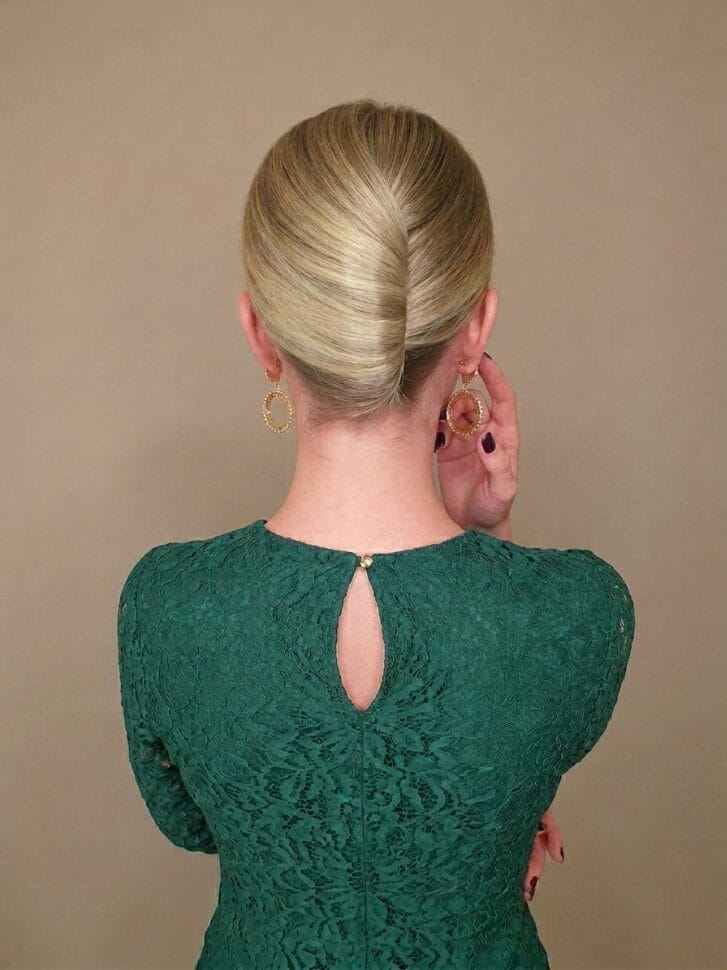
Sweeping all your hair strictly to one side and pinning a vertical line up the back establishes structural integrity. Rolling the hair smoothly backward over that line and pinning the seam entirely shut creates a pristine vintage tube that catches studio lighting beautifully.
| Style Details | Specifications |
| Face Shape | Diamond Oval |
| Required Tools | Strong Hair Pins |
| Difficulty Level | Intermediate |
| Time to Style | 6 minutes |
The Hidden Pocket Roll
Tying a loose ponytail exactly at the top of your neck creates a small opening right above the elastic. Flipping the entire tail upward and aggressively stuffing it completely inside that gap hides every end safely and creates a soft horizontal roll that looks incredibly elegant on camera.
| Style Details | Specifications |
| Face Shape | Heart Square |
| Required Tools | Seamless Hairband |
| Difficulty Level | Beginner |
| Time to Style | 4 minutes |
The Double Stacked Coil
Splitting your hair horizontally into two equal sections distributes heavy weight evenly. Twisting both sections into individual dense circles and pinning them vertically against the back of your head provides massive stability and a visually interesting shape for profile shots.
| Style Details | Specifications |
| Face Shape | All Face Shapes |
| Required Tools | Heavy Bobby Pins |
| Difficulty Level | Intermediate |
| Time to Style | 5 minutes |
The Asymmetrical Side Tuck
Brushing all your hair firmly toward the bottom right or left corner of your neck creates a dramatic elegant anchor. Folding the entire length neatly inward directly behind your ear and jamming heavy pins through the seam provides a solid romantic updo that frames the jawline perfectly.
| Style Details | Specifications |
| Face Shape | Round Oval |
| Required Tools | Matte Pins |
| Difficulty Level | Beginner |
| Time to Style | 5 minutes |
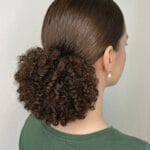
The Interlocking Loop Bun

Smoothing your hair into a mid level ponytail creates a clean starting point. Tying the tail into a literal loose knot, folding the remaining ends completely under the core, and pinning it heavily against your neck creates an intricate woven appearance that looks stunning in high resolution close ups.
| Style Details | Specifications |
| Face Shape | Round Heart |
| Required Tools | Elastic Band Pins |
| Difficulty Level | Beginner |
| Time to Style | 4 minutes |
Pro Tips For Photoshoot Styling Efficiency
Maintaining a completely pinned gather under hot studio lights requires structural reinforcement. Fast morning routines just need a few minor adjustments to keep everything locked tight.
Deploy Heavy Duty Hardware
Standard decorative slides will fail you during an active photoshoot. You must use thick matte finish heavy duty bobby pins that aggressively bite into the hair and securely trap the shape against your scalp to avoid shiny glares on film.
Utilize Dry Texturizing Spray
Freshly washed silky hair simply will not hold a completely pinned shape gracefully. You need to blast your roots and mid shafts with a dry texturizing spray to build the gritty friction required for the hair to actually stay put under the flash.
Common Mistakes To Avoid
Relying On Plastic Claw Clips
Tossing your hair into a fragile plastic clip before stepping on set guarantees it will slide askew while you change poses. If you want a completely secure editorial look, you must strictly commit to using actual pins and woven elastics.
Styling Damp Hair
Arriving at the studio with wet hair forced into a tight roll will ruin the shape entirely as it shrinks under the hot lights. You must aggressively dry your hair one hundred percent before you attempt to pin a single section up.
Frequently Asked Questions
How do I manage flyaways without looking greasy on camera?
Keep a clear brow gel wand in your makeup kit. You can instantly swipe down rogue baby hairs flat against your scalp right before taking photos without adding any heavy oil that reflects light poorly.
Will these tight updos cause discomfort during long shoots?
Discomfort solely comes from pulling the front hairline too tight. You must pull the hair back securely, but right before you tie the starting elastic, gently loosen the strands specifically around your temples to relieve tension on your skin.
Can I achieve a full gather if my hair is thin?
Yes, utilizing the braided chignon wrap method completely masks thin hair. You just need to gently pull apart the braided sections slightly before pinning them down over the sponge to create the illusion of massive volume.
Do I need hairspray for an indoor photoshoot?
Pins hold the heavy internal structure, but hairspray stops static electricity from making you look unkempt on high definition sensors. You must douse the finished completely pinned style in a hard hold spray to freeze the sleek silhouette before you step in front of the lens.
Conclusion
Mastering these completely gathered camera updo hairstyles means you can step onto any set with absolute confidence. Use these straightforward flat pinned methods to lock your strands down safely and project a purely photogenic aesthetic frame after frame.