Getting ready for your big dance feels incredibly exciting. Choosing simple prom hairstyles you can do yourself makes the preparation process completely stress-free. You save money, skip the crowded salon, and control exactly how your hair looks. Creating gorgeous formal styles at home requires minimal tools and basic techniques. Let us explore nine easy ideas that will keep you looking stunning from the first picture to the last dance.
Best DIY Prom Hairstyles To Try
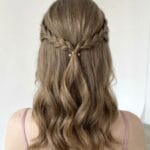
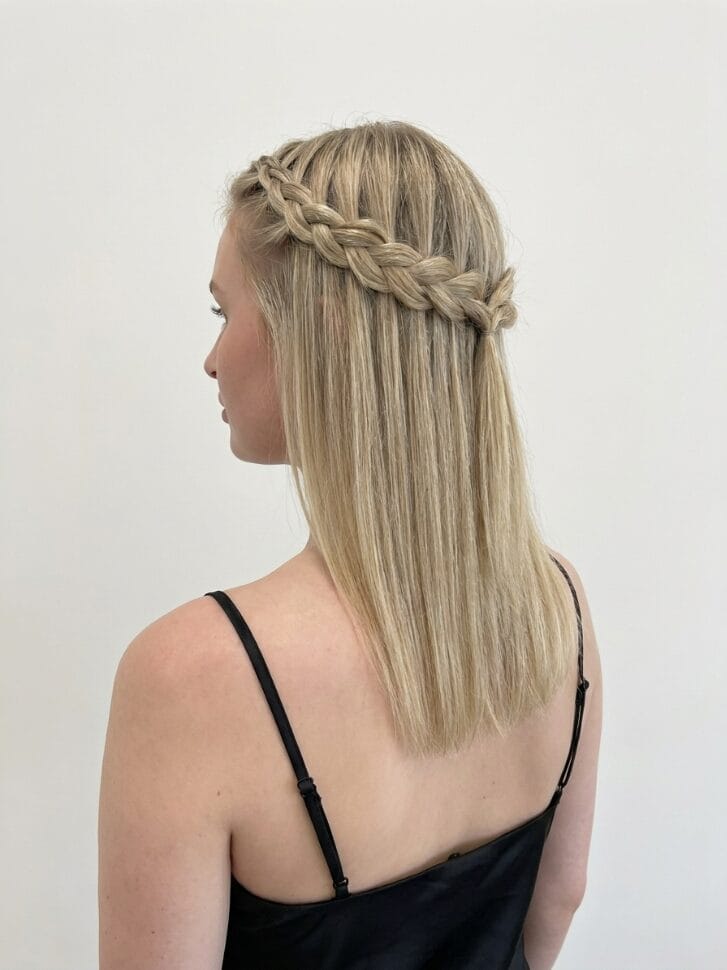
The Easy Twisted Crown
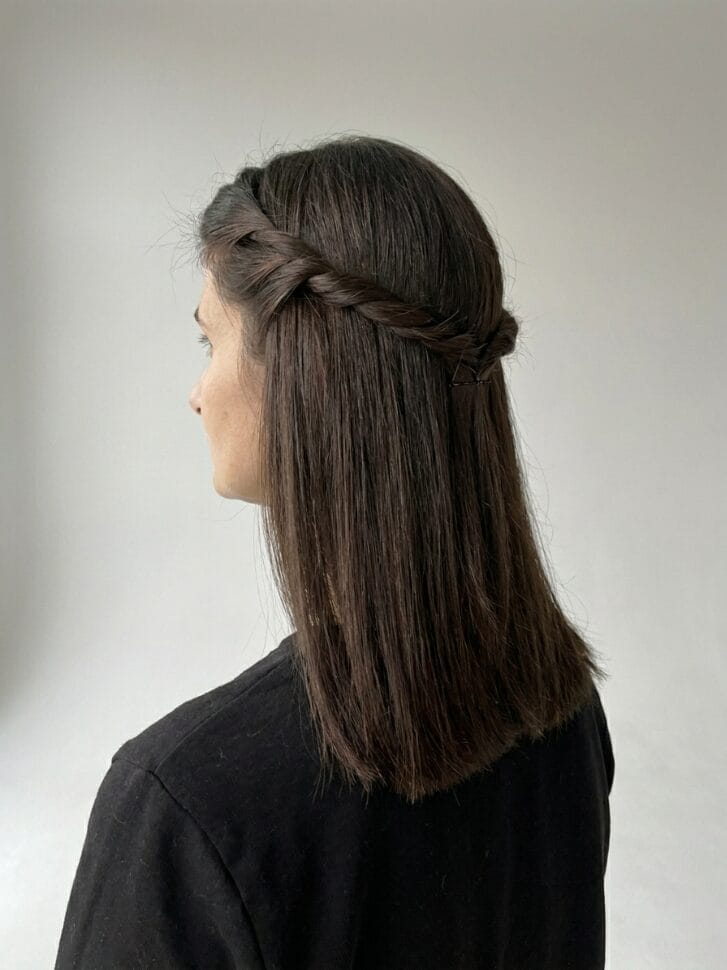
Take two front sections of hair right above your temples. Twist them tightly backward and pin them securely in the center of your back. Leave the rest of your length flowing naturally. This elegant choice frames your face beautifully and requires absolutely zero braiding skills.
| Style Details | |
| Face Shape | Oval, Heart |
| Hair Type | Best for straight or slightly wavy strands |
| Difficulty Level | Beginner |
| Time to Style | Takes 10 minutes |
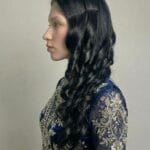
The Sleek Low Ponytail
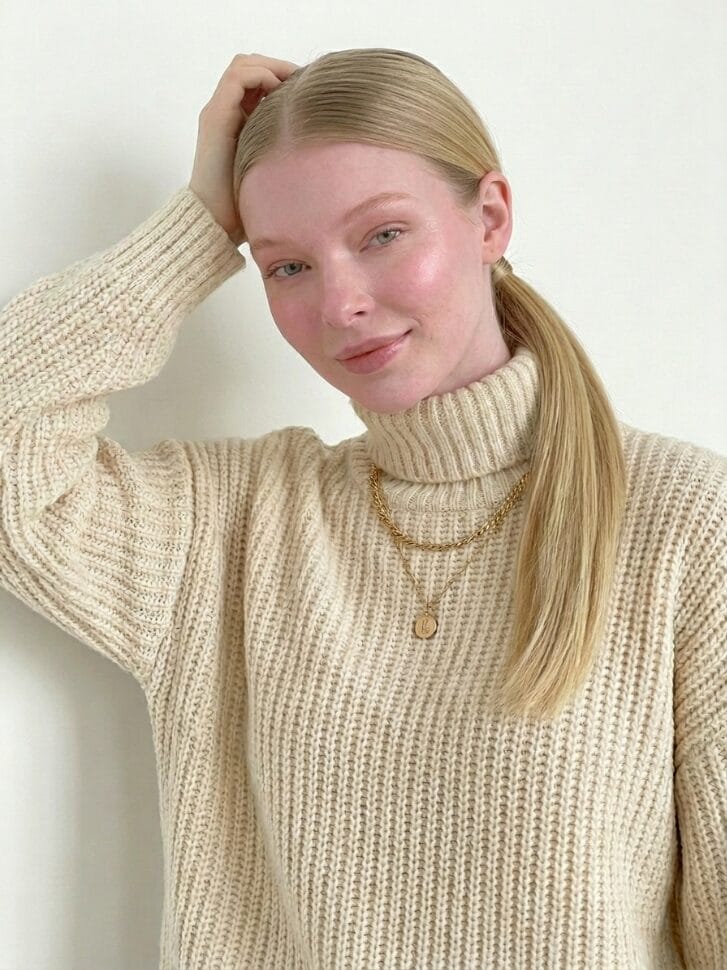
Pull your strands tightly to the exact base of your neck. Brush the roots completely flat and secure them with a strong elastic band. Wrap a small piece of hair around the base to hide the tie flawlessly. This sharp look takes five minutes and perfectly highlights modern dresses.
| Style Details | |
| Face Shape | Oval, Diamond |
| Hair Type | Perfect for straight strands |
| Difficulty Level | Beginner |
| Time to Style | Takes 10 minutes |
The Messy High Bun
Gather your hair into a high ponytail right at your crown. Twist the tail loosely and pin sections of it around the base to build a highly textured, voluminous bun. Pull out a few framing pieces around your face to instantly soften the overall aesthetic.
| Style Details | |
| Face Shape | Round, Square |
| Hair Type | Works beautifully on thick densities |
| Difficulty Level | Beginner |
| Time to Style | Takes 15 minutes |
The Simple Chignon
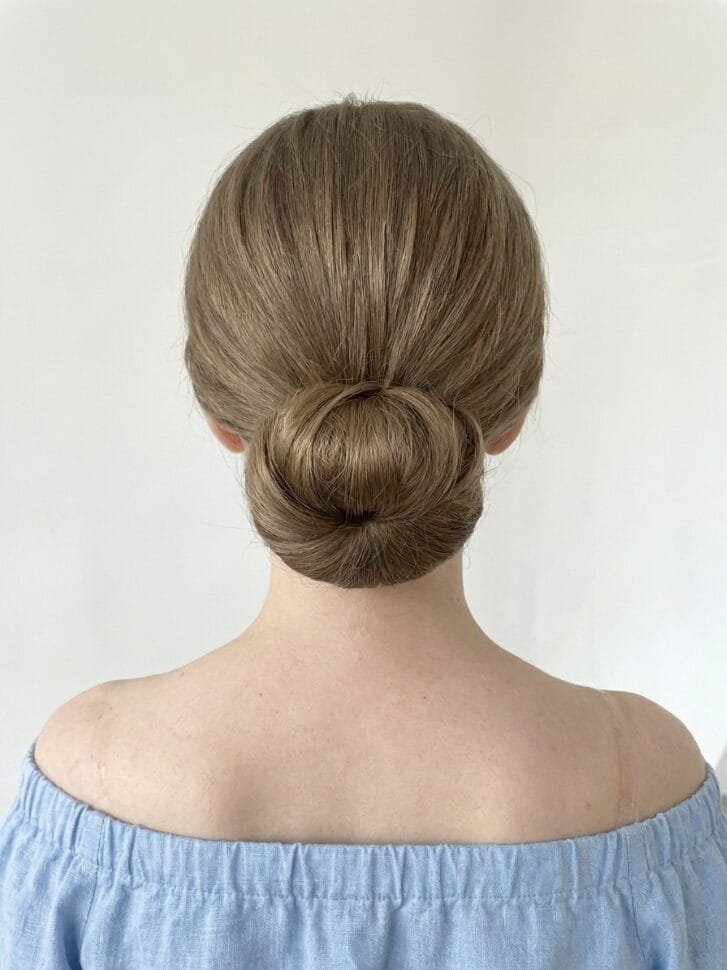
Roll your hair into a neat low bun resting right at the nape of your neck. Pin the outside edges firmly against your scalp. This classic, circular shape looks incredibly sophisticated and stays completely secure through hours of dancing.
| Style Details | |
| Face Shape | Heart, Oval |
| Hair Type | Best for fine or medium hair |
| Difficulty Level | Beginner |
| Time to Style | Takes 15 minutes |
The Half Up Bubble Braid
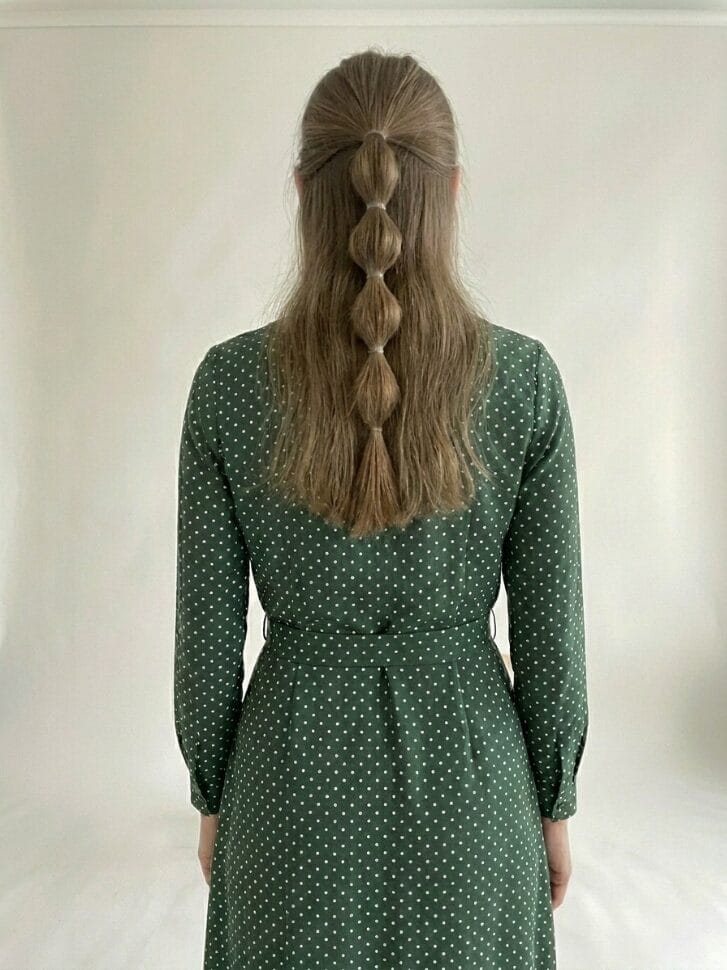
Pull the top section of your hair into a mini ponytail at your crown. Secure clear elastic bands every two inches straight down the tail. Gently pull the sections between the bands outward to create fun, voluminous bubbles resting perfectly over your loose bottom hair.
| Style Details | |
| Face Shape | Diamond, Round |
| Hair Type | Great for long, layered strands |
| Difficulty Level | Beginner |
| Time to Style | Takes 15 minutes |
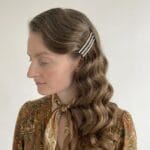
The Pinned Side Sweep
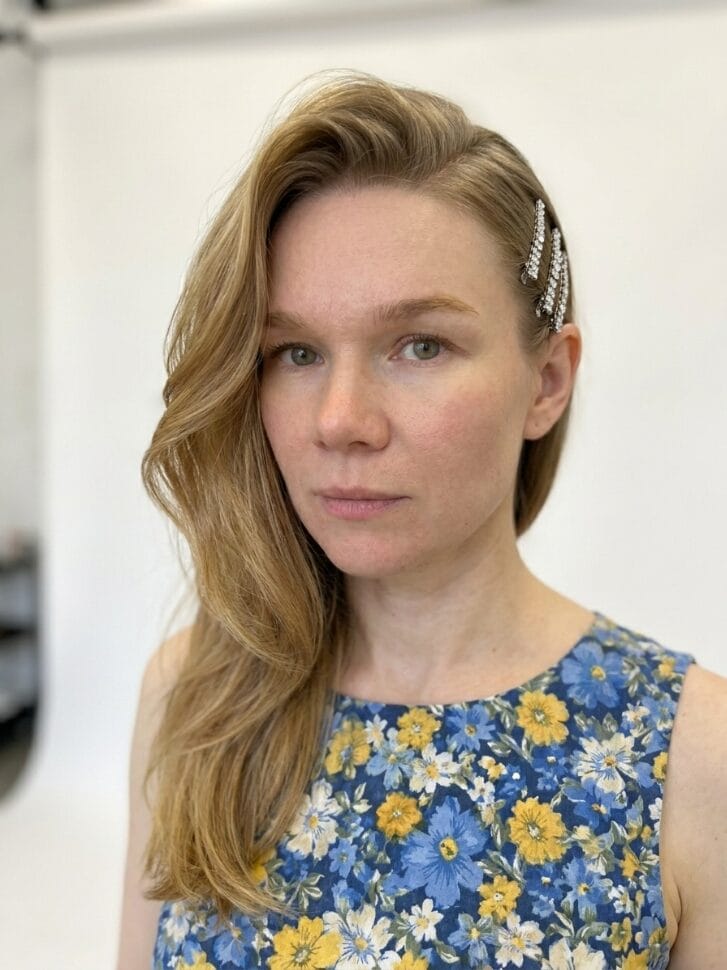
Part your hair deeply to your favorite side. Sweep all your heavy volume entirely over one shoulder. Secure the flat side tightly behind your ear using beautiful decorative rhinestone clips. This asymmetrical style provides instant glamour with almost zero effort.
| Style Details | |
| Face Shape | Round, Heart |
| Hair Type | Perfect for natural curls and waves |
| Difficulty Level | Beginner |
| Time to Style | Takes 10 minutes |
The Easy Braided Headband
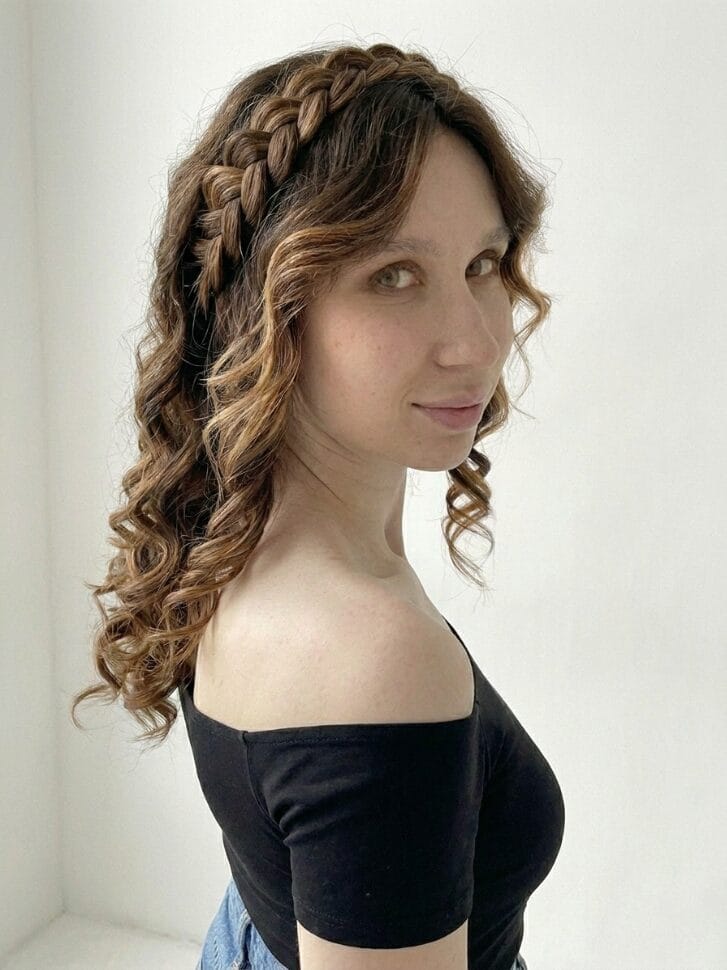
Braid a thick chunk of hair starting directly behind one ear. Wrap it firmly across the top of your head just like a real headband. Pin the end securely behind your opposite ear. Let the rest of your locks fall freely to complete this sweet, ethereal look.
| Style Details | |
| Face Shape | Square, Oval |
| Hair Type | Works well on long lengths |
| Difficulty Level | Intermediate |
| Time to Style | Takes 20 minutes |
The Twisted Low Updo
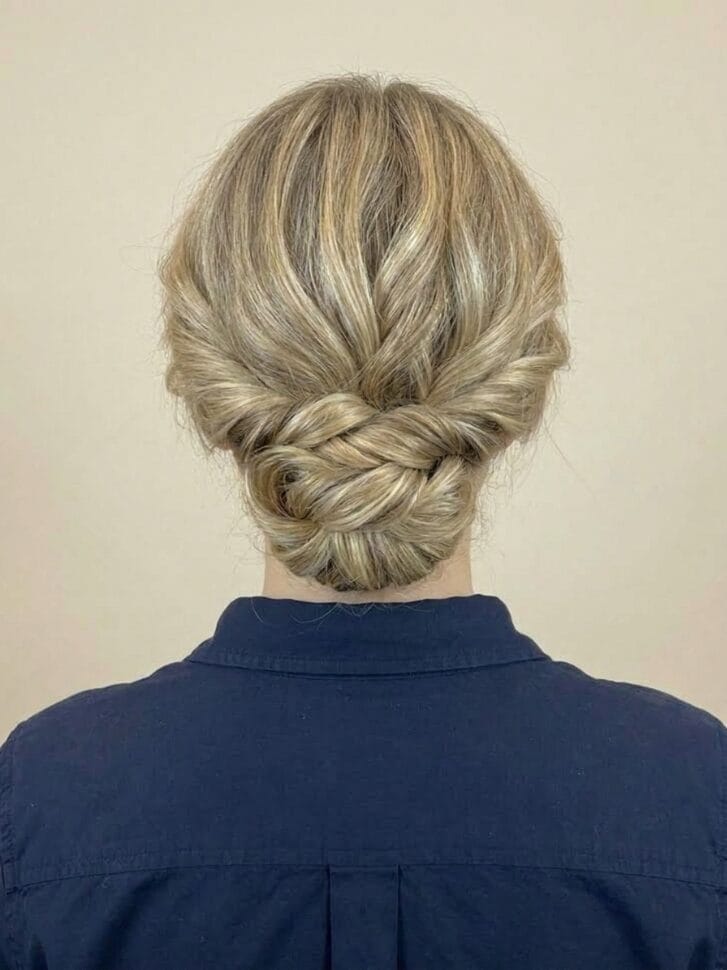
Divide your hair into two low pigtails at the very back of your neck. Twist both sections tightly and wrap them around each other into a knot. Pin the twisted mass securely against your head for a surprisingly intricate-looking updo that holds tightly all night.
| Style Details | |
| Face Shape | Oval, Heart |
| Hair Type | Best for medium-length strands |
| Difficulty Level | Beginner |
| Time to Style | Takes 15 minutes |
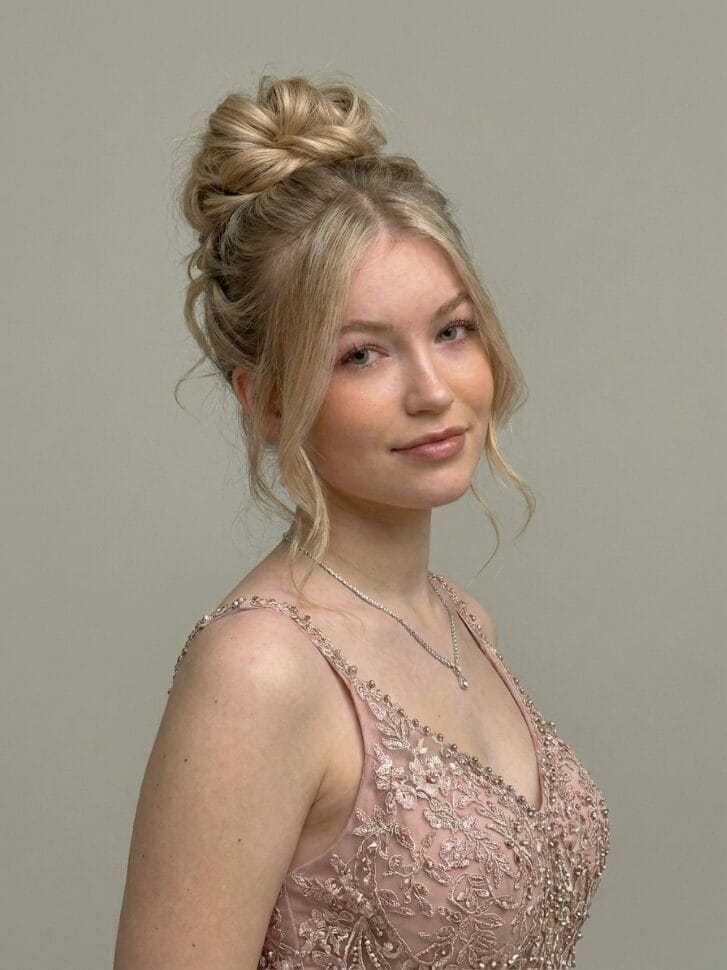
The Polished Top Knot
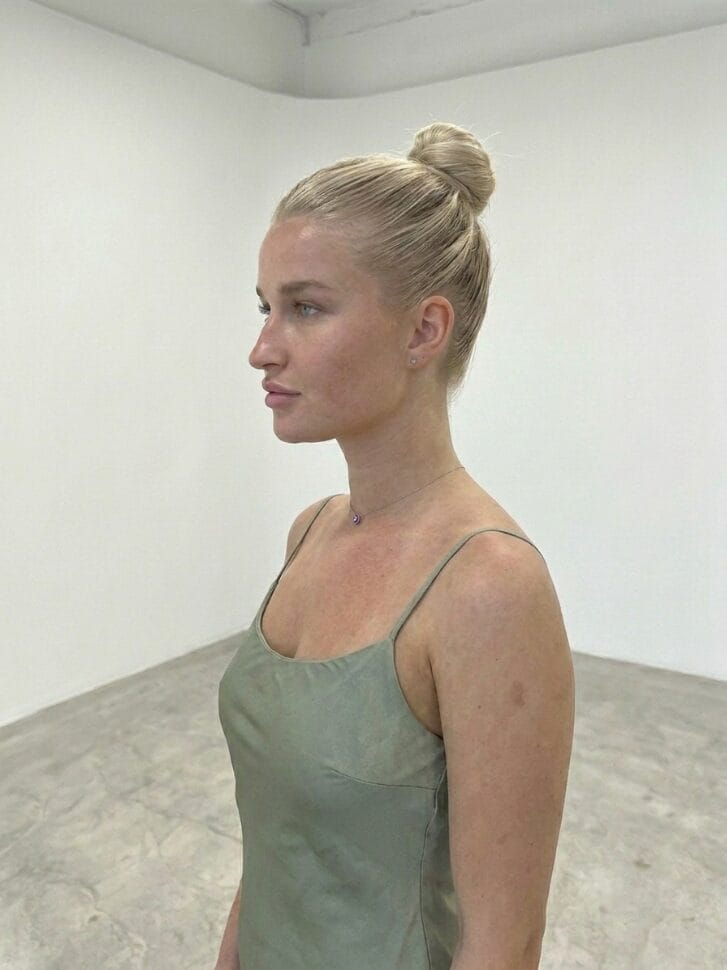
Brush your roots entirely smooth and pull your hair to the very top of your crown. Twist the ponytail tightly until it coils naturally into a neat, sharp knot. Pin it firmly against your head to dramatically highlight your cheekbones and statement jewelry.
| Style Details | |
| Face Shape | Diamond, Oval |
| Hair Type | Perfect for straight textures |
| Difficulty Level | Beginner |
| Time to Style | Takes 10 minutes |
Styling Tips For DIY Prom Hair
Building a strong foundation ensures your formal style stays flawless all night. Always apply a dry texturizing spray before you start pinning to give your strands essential extra grip.
Use standard bobby pins that perfectly match your natural hair color to hide your mechanics seamlessly. Mist a strong-hold hairspray evenly over your finished look to smooth down flyaways and secure the overall shape permanently.
FAQs About Simple Prom Hairstyles
Should I wash my hair right before styling?
You should wash your hair the night before your dance. Freshly washed strands slip easily and drop out of pins. Day-old natural oils provide excellent texture and hold the structural shape much stronger.
What tools do I need for DIY prom hair?
You only need a few basic supplies. Gather matching bobby pins, clear elastic bands, a fine-tooth comb, and a high-quality flexible-hold hairspray before you begin styling.
How do I lock my bobby pins in place securely?
Cross two bobby pins in an “X” shape whenever you secure heavy sections of hair. This incredibly simple technique locks them firmly against your scalp and prevents them from sliding out while you dance.
Final Thoughts
Choosing the perfect formal look makes the preparation process incredibly fun. Wearing simple prom hairstyles you can do yourself gives you complete control over your final aesthetic and saves you valuable time. Whether you pick a sleek top knot or an easy twisted crown, you want a style that makes you feel absolutely stunning. I hope these nine easy DIY ideas help you discover the perfect finishing touch for your unforgettable night.